Wednesday, December 18, 2013

Easy, fun Christmas gifts (and crafts)

Hi peeps...Just wanted to share some fun Christmas things we have been making/doing here at my house (even though I haven't been playing with paint lately :(  ) I really wanted to focus on making some things with my girls this year, putting some thought and time into it...instead of just grabbing items at the store just to give "something." There's 4 dance, teachers, regular teachers, soccer coach, mailman, trash guys, etc. I never know what to get these people, I mean, you can only get so many Starbucks gift cards...so anyway....here are a few easy, fun gifts to make and fun crafts to do with your little ones.

First up is the simple but genius "cookies in a jar"which I got from here (I just used choc chips). I had enough ingredients on hand to make 4 of these...and they are too cute!

Next I wanted to make a hot chocolate treat for the girl's class.  I made these last year also but didn't have a blog then.  Wilton decorator bags, hot cocoa mix, sprinkles, marshmallows.  Easy. Cute.


Yesterday I made Candy Cane Sugar scrub.  I got the idea from here. Here are the ingredients you will need:

For a smallish pintish size jar you will need (ignore the big jar in the pic):
2 Cups of white sugar
some coconut oil
some olive oil (perhaps)
red food coloring
peppermint essential oil

First batch I mixed up the sugar with about 1/2 cup of coconut oil and 1/2 cup of olive oil until I achieved the texture I wanted...you can always add more sugar or more oil! Then I divided the mix, dyed one half red and added the peppermint to that half.  Then you layer the white and red in a clean jar, packing it down as you go...
sorry about my finger in the pic
 The second batch I made, I realized that the olive oil was turning my sugar yellowish and that just the coconut oil would work fine because it smells sooooo good.  So I just used that.

I'm not going to say "easy peasy" because I hate that saying...but it is! Speaking of little trees...

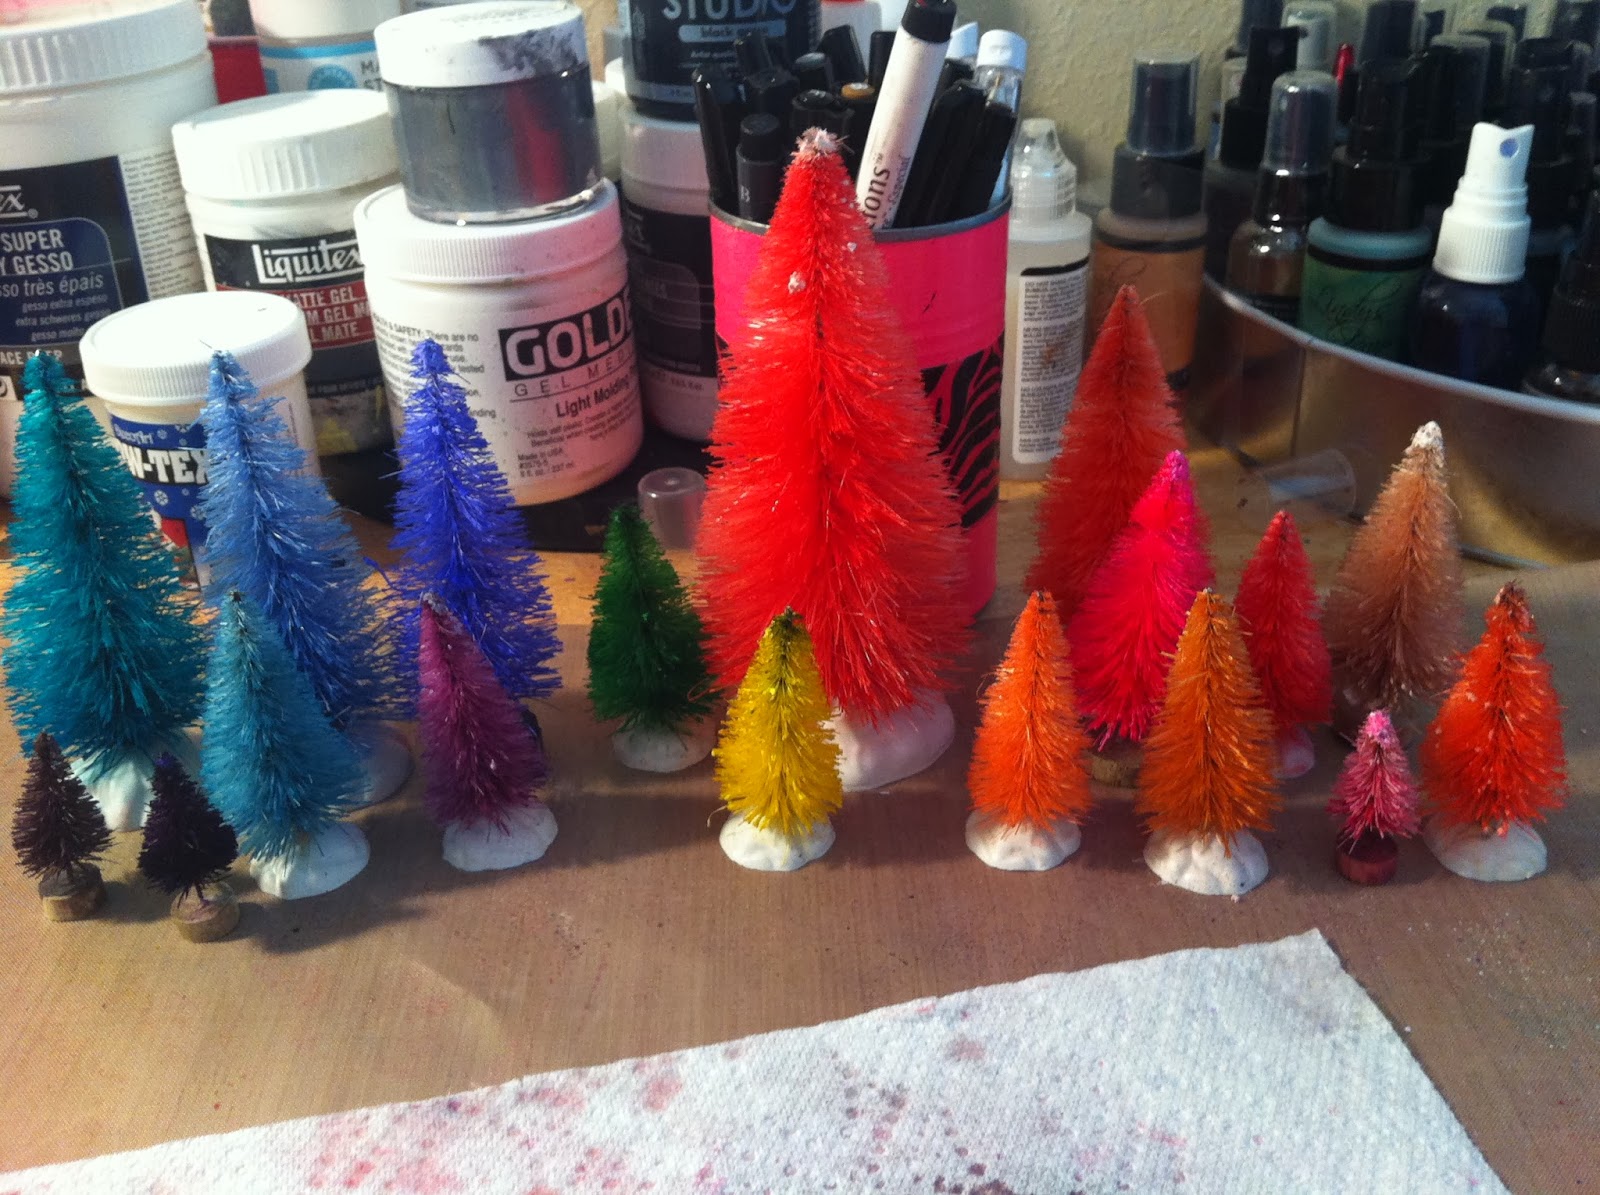
I am obsessed with little trees this year....I saw a bunch of different colored ones on Pinterest and knew I had to get some and color them! These are the good ones to get if you are going to do this.  I got them at Michaels with a 50% off coupon so they cost about $10 for the big bag of different sizes.  The dollar store ones did NOT bleach out for me, even after hours, days in the bleach.
After a short while...few hours maybe for all of them...this is what they looked like...
See the dollar store one in the back? Grrrrrr....
So I decided to color them up using my different ink sprays from all different companies (yes I have many) and it was SO fun.  I was supposed to wait for my daughter's to get home to do this but I couldn't stop.  I think I left them 4.  Well, we can always get more! Here are some pics....


Now I am not sure what to do with them but I think glitter may be involved....
I think this post has gone on too long so I will continue tomorrow. Have a great day!
Sarah


Thursday, December 12, 2013

Some really exciting news (for me) and a pretty quick gift idea!

Hello...I haven't posted in two weeks I just realized! We had company in my art (guest) room, Thanksgiving...a birthday, Christmas craziness, ect. so I have been missing my messy little world. I do have some really exciting news though: starting in Jan 2014 I will be on the Genuinely Jane Studios design team!!! They manufacture and sell real wood "books" in different shapes to alter or take apart for limitless art/craft projects.  They also have a store selling all kinds of supplies for art! Go check them out if you haven't already. I love their products and I can't wait to get to play with some goodies in the new year!

 I got a chance to play with some ICE resin by Susan Lenart Kazmer over the weekend with my 8 year old daughter and it was SO easy and SO fun! I had bought this tube a few months ago at Hobby Lobby ($11.99 but used my 40% off coupon).
 I took out all my bezels that I had been hoarding and mixed up the resin.  You depress both tubes with your thumbs, mix it up and wait 5 minutes. Easy right?  I also took a tooth pick and pulled out a few of the air bubbles.  Then you decide what you want to put in the bezels and fill em up.  The package says it takes about 12 hours to dry/cure. You can add some things, let the resin dry, then add more to have a layered effect but we were too impatient to wait for that!  My daughter and I had a blast playing with these...we put gears, glitter, metal words..and even ice cream sprinkles! I want to try adding paper  and sentiments next time.  You have to seal them first so the resin doesn't ruin it and I just wanted to keep it really simple for the first time.  We added some pretty ribbon and mailed them off to a few special people for Christmas.  Easy, fun, inexpensive!


Here they are all done...this is from one tube:


Have a great day!
Sarah